To create the Labels and Layout in Labeljoy, open the Labeljoy application.
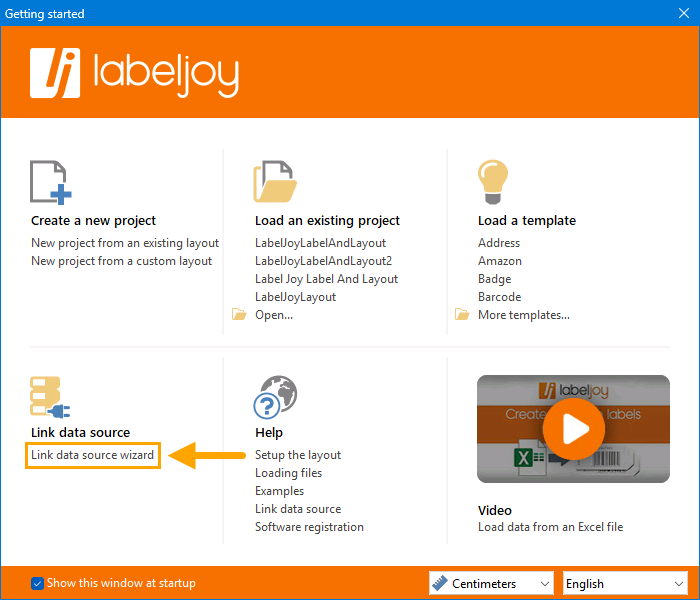
After opening Labeljoy, the Getting started window will appear.
Within the Getting started window, select the "Link data source wizard" option.
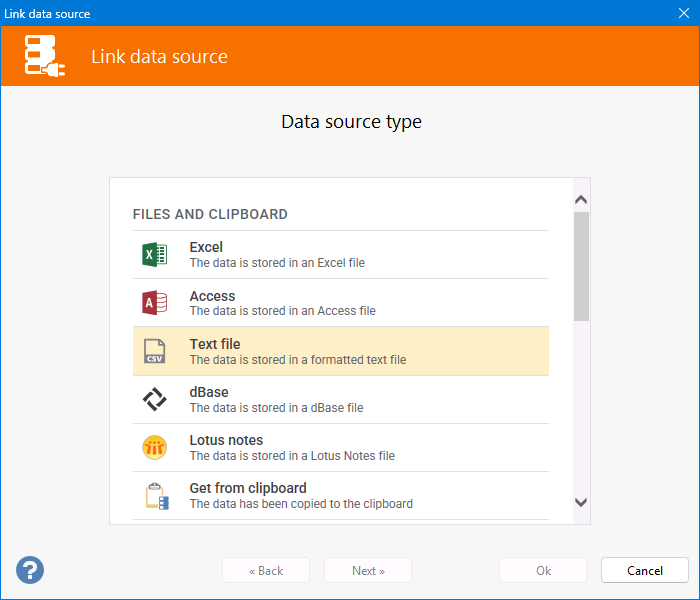
Data source type - Select the "Text file" option.
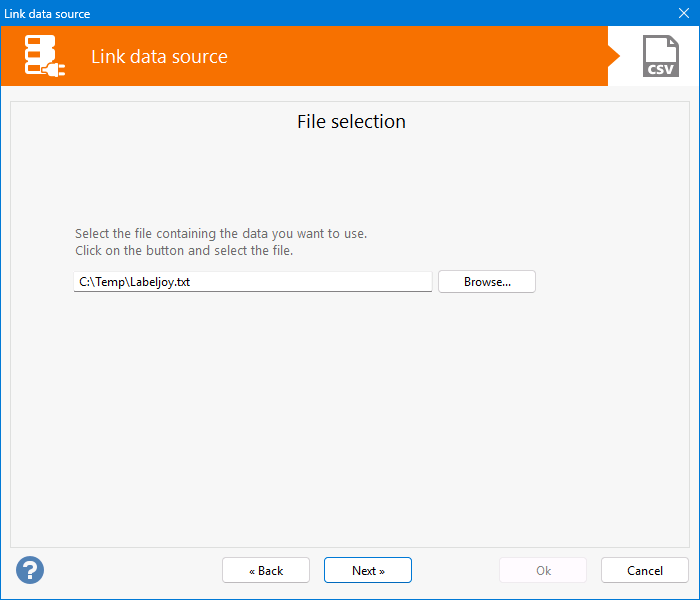
File selection - Browse to the folder location where the TXT Data File was created in the previous step outlined on the Create Data File for Labeljoy page.
Press "Next" once the file has been selected.
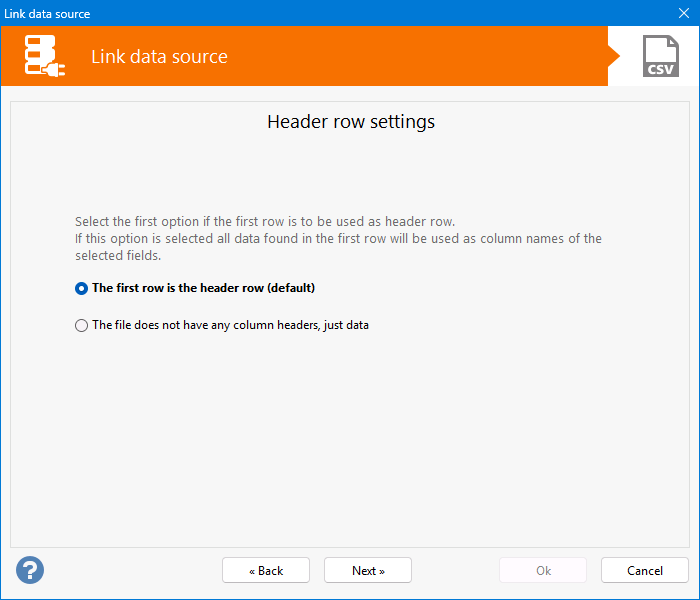
Header row settings - Ensure that the default option is selected "The first row is the header row (default)".
Press "Next" to continue.
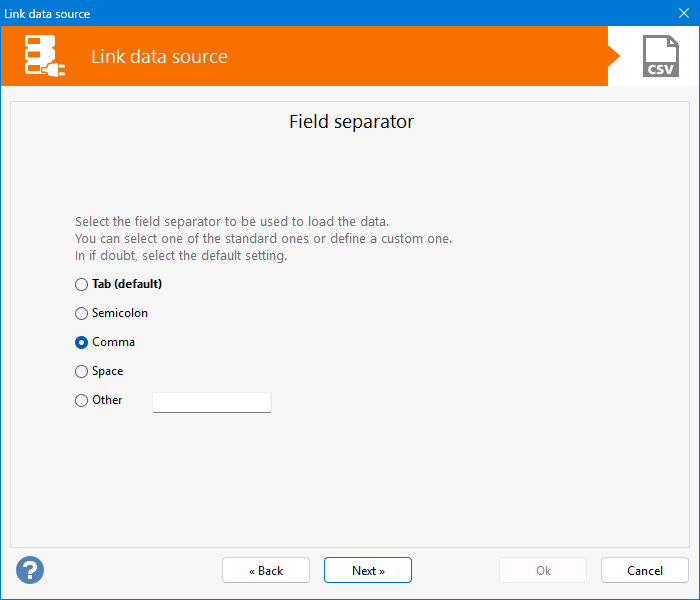
Field separator - Select the "Comma" option.
Press "Next" to continue.
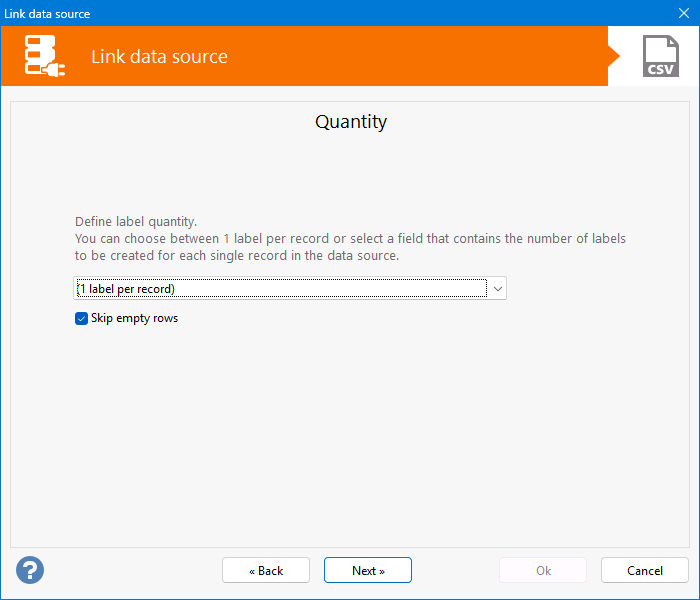
Quantity - Ensure that the "(1 label per record)" and "Skip empty rows" options are selected.
Press "Next" to continue.
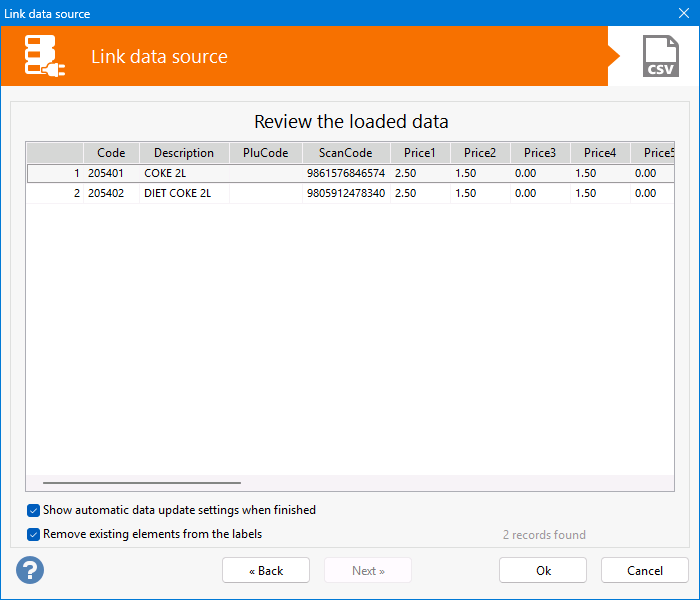
Labeljoy will display a review of the loaded data.
This will contain a list of Stock Item Labels that were exported in Idealpos as per the export that was done during the Create Data File for Labeljoy step.
Enable the two checkboxes at the bottom of the window:
"Show automatic data update settings when finished" and "Remove existing elements from the labels".
Press "OK" to continue.
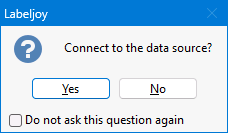
A "Connect to the data source?" prompt will be displayed.
Select "Yes" to continue.
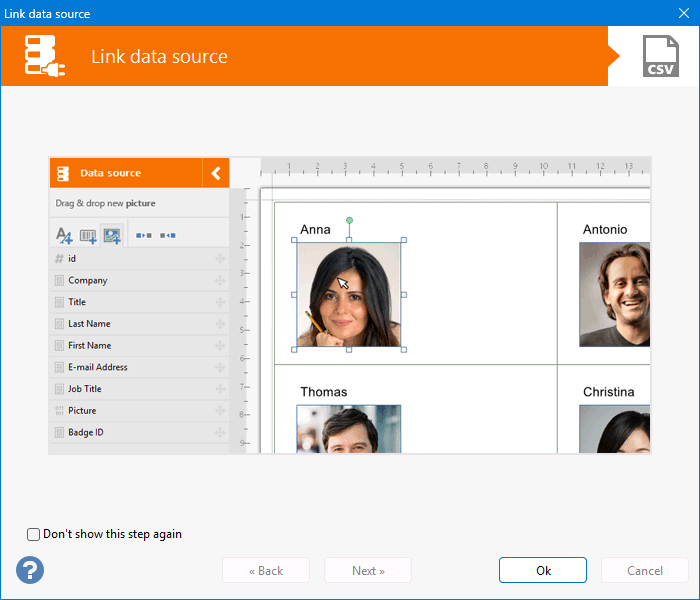
A brief Link data source video will be displayed which shows the process of how to add elements to the Label.
Press "OK" to close.
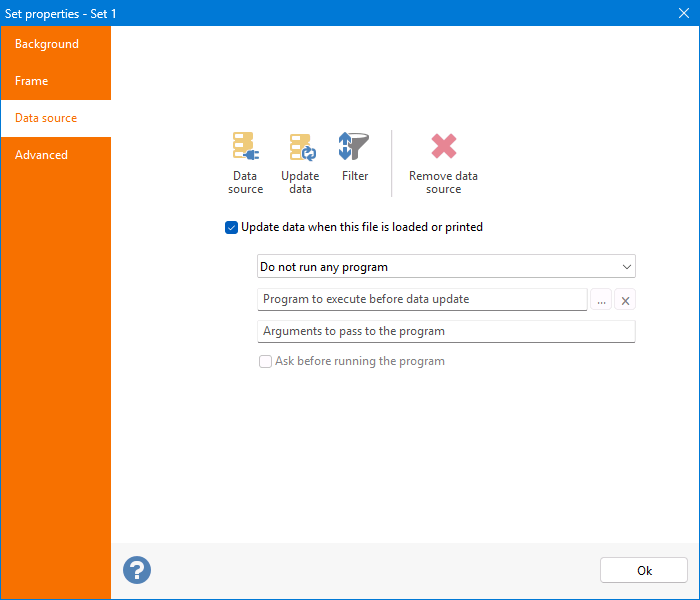
The "Set properties - Set 1 - Data source" window will open.
Enable the checkbox "Update data when this file is loaded or printed".
Press "OK" to continue.
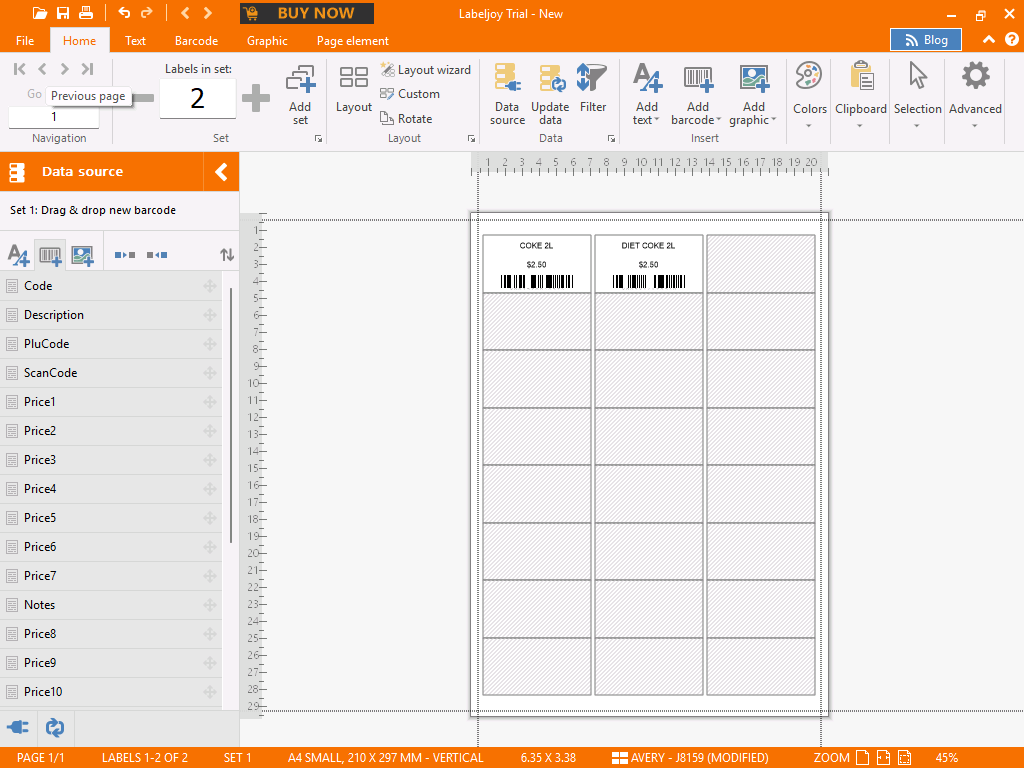
The Data Source will be displayed on the left hand side and the label design will appear on the right-hand side.
This is the step where the label is designed as required.
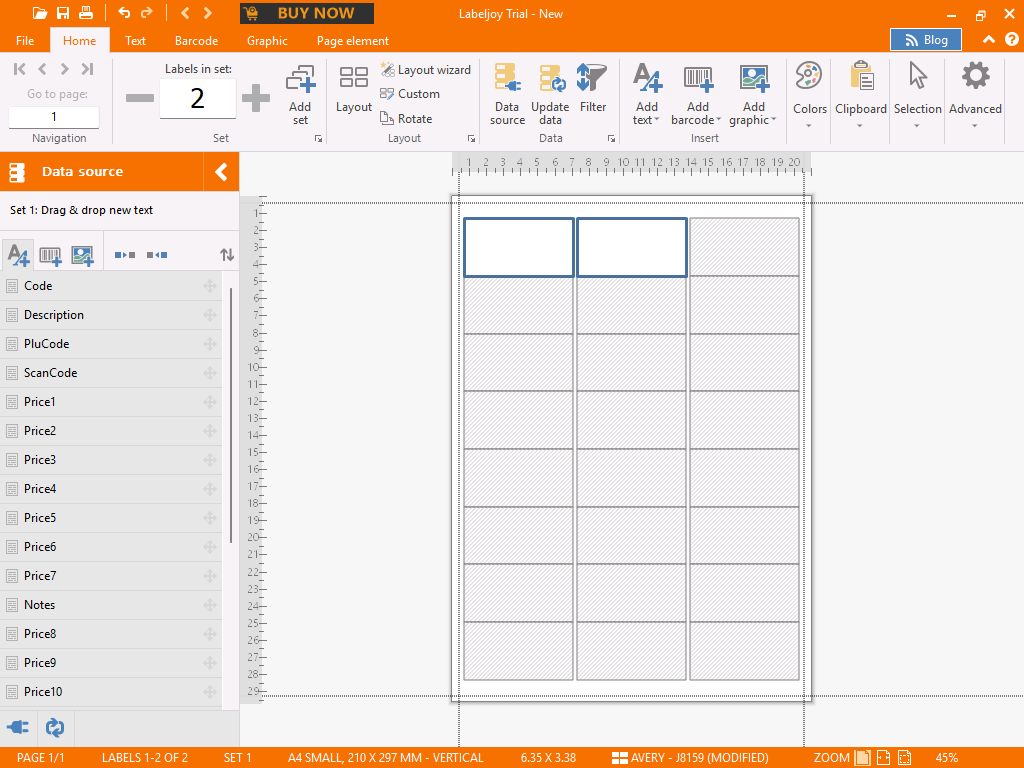
Before designing the label, ensure that the Label Layout matches the stationery that will be used for printing labels.
To change the Label Layout, ensure that the "Home" tab is selected in Labeljoy, then press the "Layout" button.

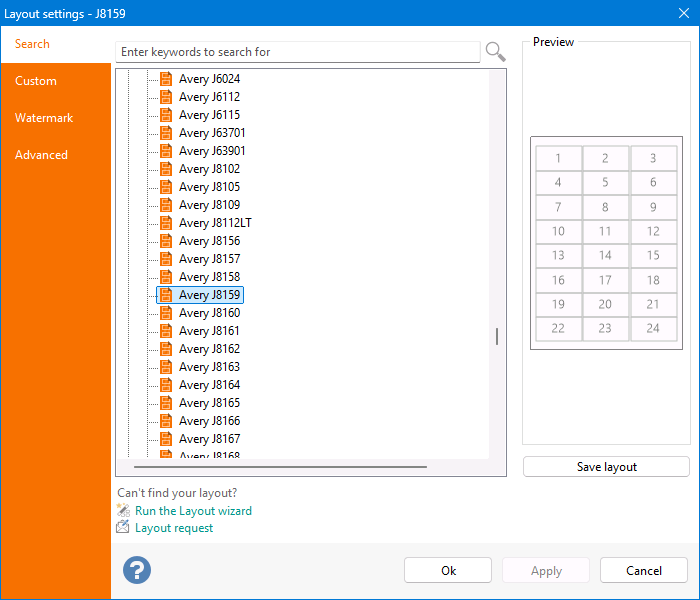
A list of Layouts will be displayed.
Note that the first time this window is displayed, the layouts window may appear as empty, with a prompt displayed to download layouts.
If this is the case, follow the on-screen prompts/click on the required options to download the layouts.
The download of the layouts may take several minutes to complete, depending on the speed of the internet connection.
Once the layouts have been downloaded, search for the layout that matches the stationery and press "OK".
If the stationery does not exist in the list of layouts, the Layout wizard can be used to manually specify the dimensions of the labels on the stationery that will be used.
If required, visit Labeljoy's website (https://www.labeljoy.com) and refer to their Help Guides for more information on how to use the Labeljoy application.
Tip!
Continuous Label Rolls can also be used with Labeljoy.
Roll printers consider each label as a single page, therefore, the paper layout must be set to 1 column and 1 line, according to the size of the label, including margins.
For the below example, a roll of 5cm by 3cm labels with a horizontal margin of 0.15cm on each side is used.
There is also a vertical distance between each label.
In this case, however, this is not taken into account because the printer driver uses this distance to detect the start/end position of each label.
This may require some trial and error as each printer behaves differently.
The layout form should like the following to take this scenario into account.
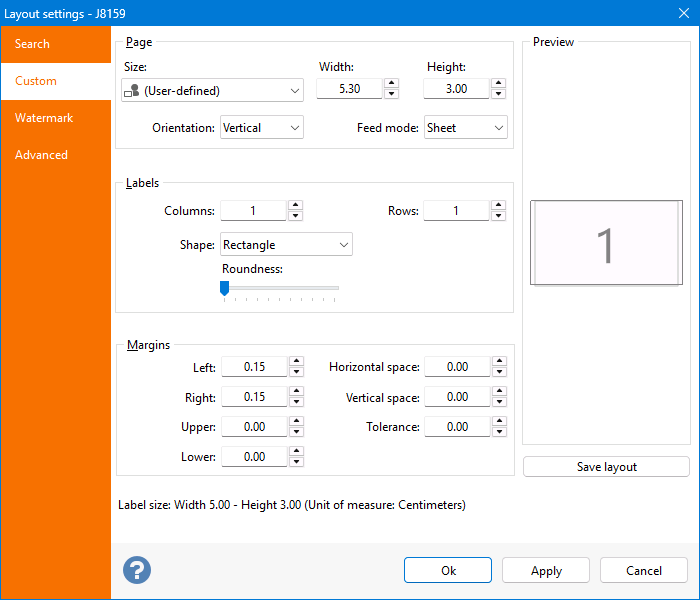
In the "Page" section of the Layout settings, the Size is set as User-defined, and the total width (including margins) and the net height (excluding the gap between labels) of the label have been entered.
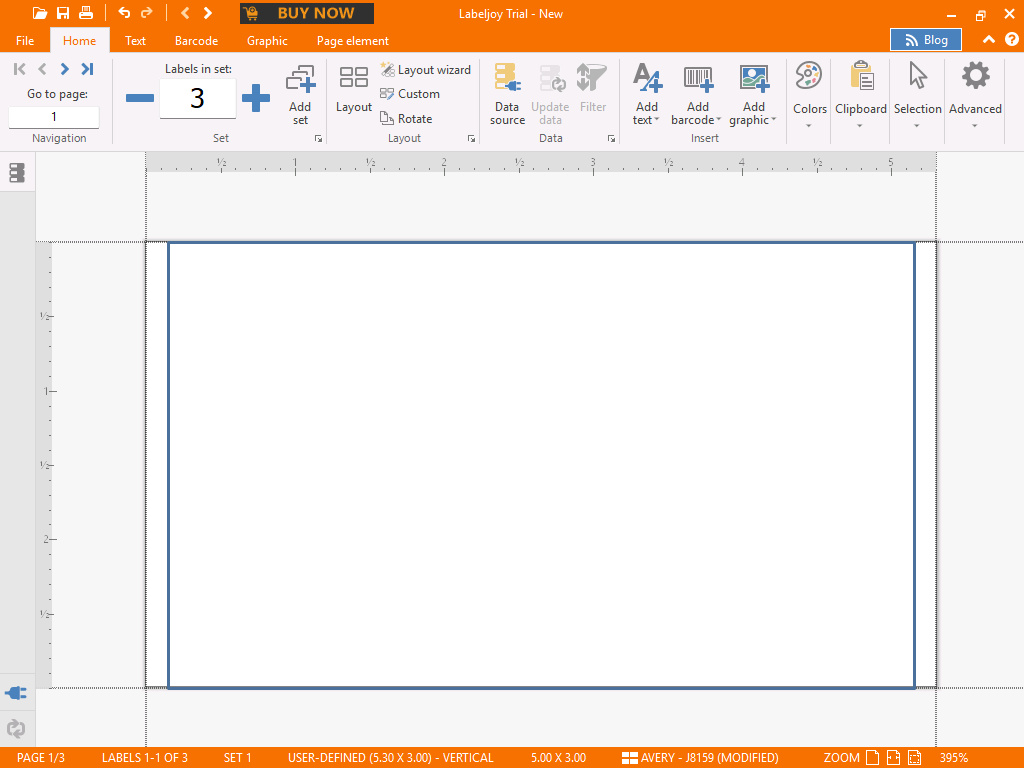
1 column and 1 line have been entered in the Labels section because the printer considers each label as a single page.
In the Margins section, a value of 0.15cm has been entered for the left and right margins.
A value of 0.00cm has been entered for the top and bottom margins.
One the changes have been applied, Labeljoy should display a single blank label.
The process for designing the label can be completed as per the remaining steps outlined below.
Once the required Layout that matches the stationery has been selected, the labels can be customised.
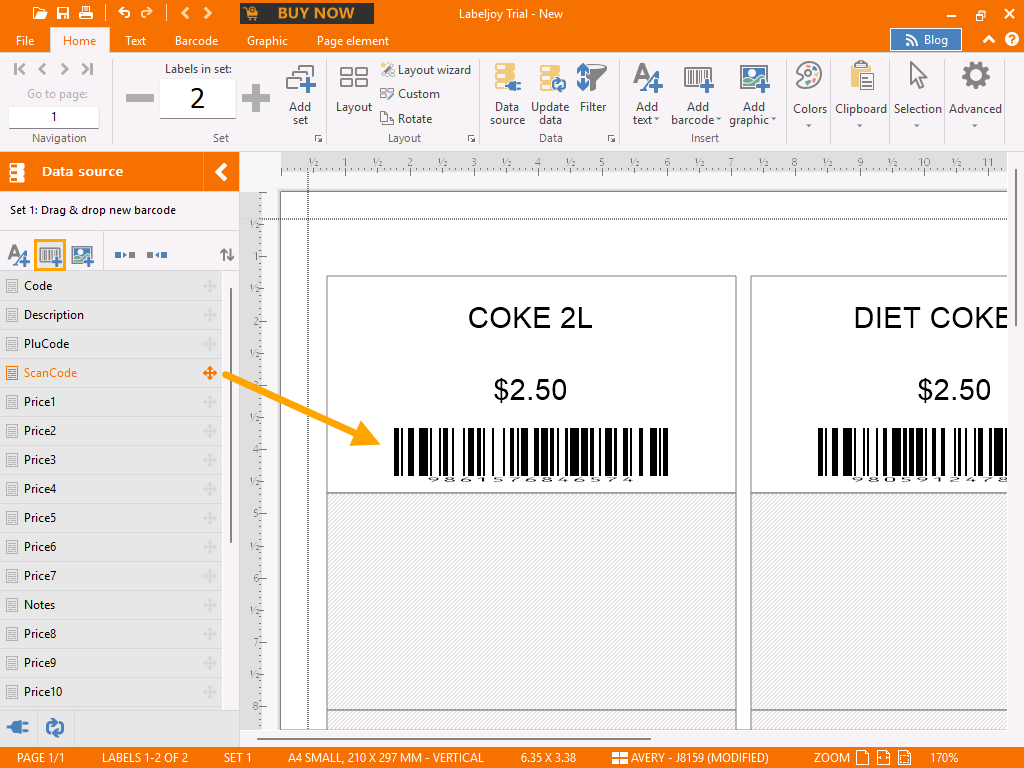
Drag the required data source fields from Data Source on the left-hand side onto the label on the right-hand side.
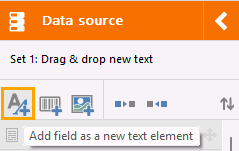
Note that in the Data Source section, there is a Text Option, Barcode Option and an image option.
The text option will be used for most fields on the label.
If the Scan Code is required on the label, press the "Barcode" option in the Data Source section.
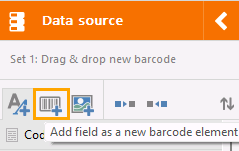
Drag the ScanCode from the Data Source onto the Label.
Once the ScanCode has been dragged onto the Label, it can be resized and repositioned as required.
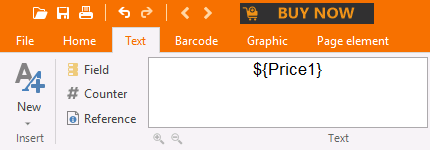
When dragging the Price onto the Label, it will only show the Price without the currency symbol.
To add the currency symbol so that it appears before the price, select the Price field on the Label, then enter the required currency symbol into the Text field before the {Price} at the top of the Labeljoy window.
Tip!
In Idealpos v9 Build 13 and newer, support for Stock Item Attributes is available.
The fields that are available are:
ATTRIBUTE1, ATTRIBUTE2, ATTRIBUTE3, ATTRIBUTE4, ATTRIBUTE5
The below contains sample Attribute data generated by the Label export.

The Attribute1-Attribute5 fields can be added to the Label as required.
Note that only the Attribute Description will appear.
E.g. If using Country of Origin and the Country is "Australia", the label will only show "Australia" without any prefix text.
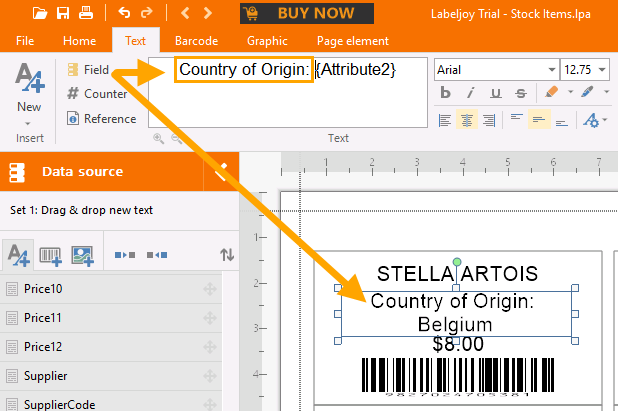
Therefore, it may be beneficial to add text prior to the Attribute that describes what the Attribute Type is.
E.g. Select the Attribute on the label and add "Country of Origin" before the Attribute field that contains the Country of Origin.
This will ensure that the label will show "Country of Origin: AttributeDescription".
E.g. "Country of Origin: Belgium".
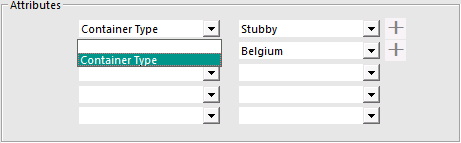
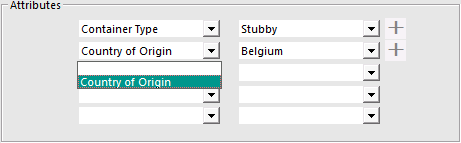
When using the above functionality, it is recommended that each Attribute Type column is reserved for a specific Attribute Type.
E.g. Restrict Container Type to Attribute 1, Country of Origin to Attribute 2, etc.
This will ensure that the printed labels display the correct information (as the process for configuring the Label Format design may require inserting descriptor text prior to the Attribute to describe the Attribute; e.g. Country-of-Origin: [Attribute]).
Refer to the Available in Columns heading of the Setup Attributes page.
E.g. Using the Available in Columns function from Setup Attributes, Attribute 1 is locked to Container Type and Attribute 2 is locked to Country of Origin, as shown below.
Once the required Data Sources have been dragged to the required positions on the label and formatting customised as required, ensure that the labels appear as desired.
If required, the Labels can be printed to ensure that they print as required.
The Labeljoy Label and Layout format will need to be saved.
Go to: File tab > Save > Save As...
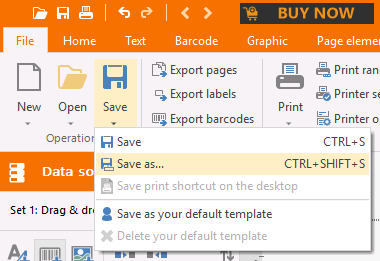
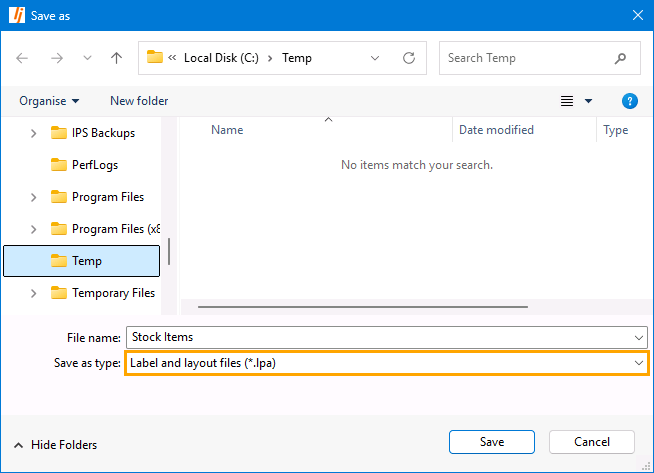
Browse to a folder location to save the file and save the Format.
When saving the format, ensure that the "Save as type" is set to "Label and layout files (*.lpa)".
Press the "Save" button to save the format.
Now that the Label and layout format has been created, Idealpos can be configured to use this format.
Close the Labeljoy application and configure Idealpos to print to Labeljoy.